
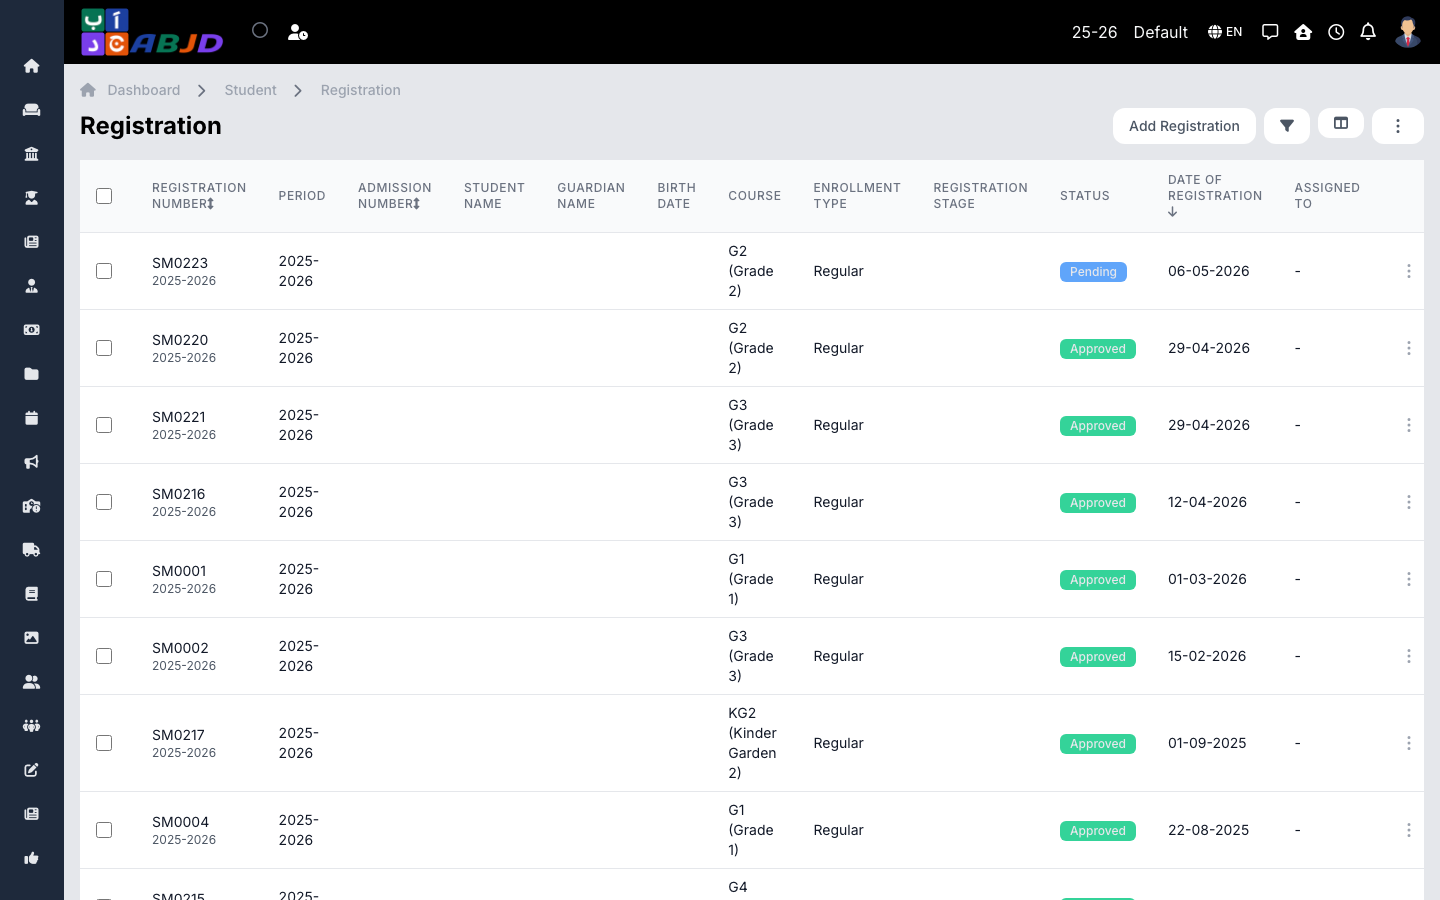
Registration is the entry point for every new student. A registration is an application: once approved, it becomes an admission and the student record is created automatically.
Open it from the sidebar: Student → Registration.
Create a new registration
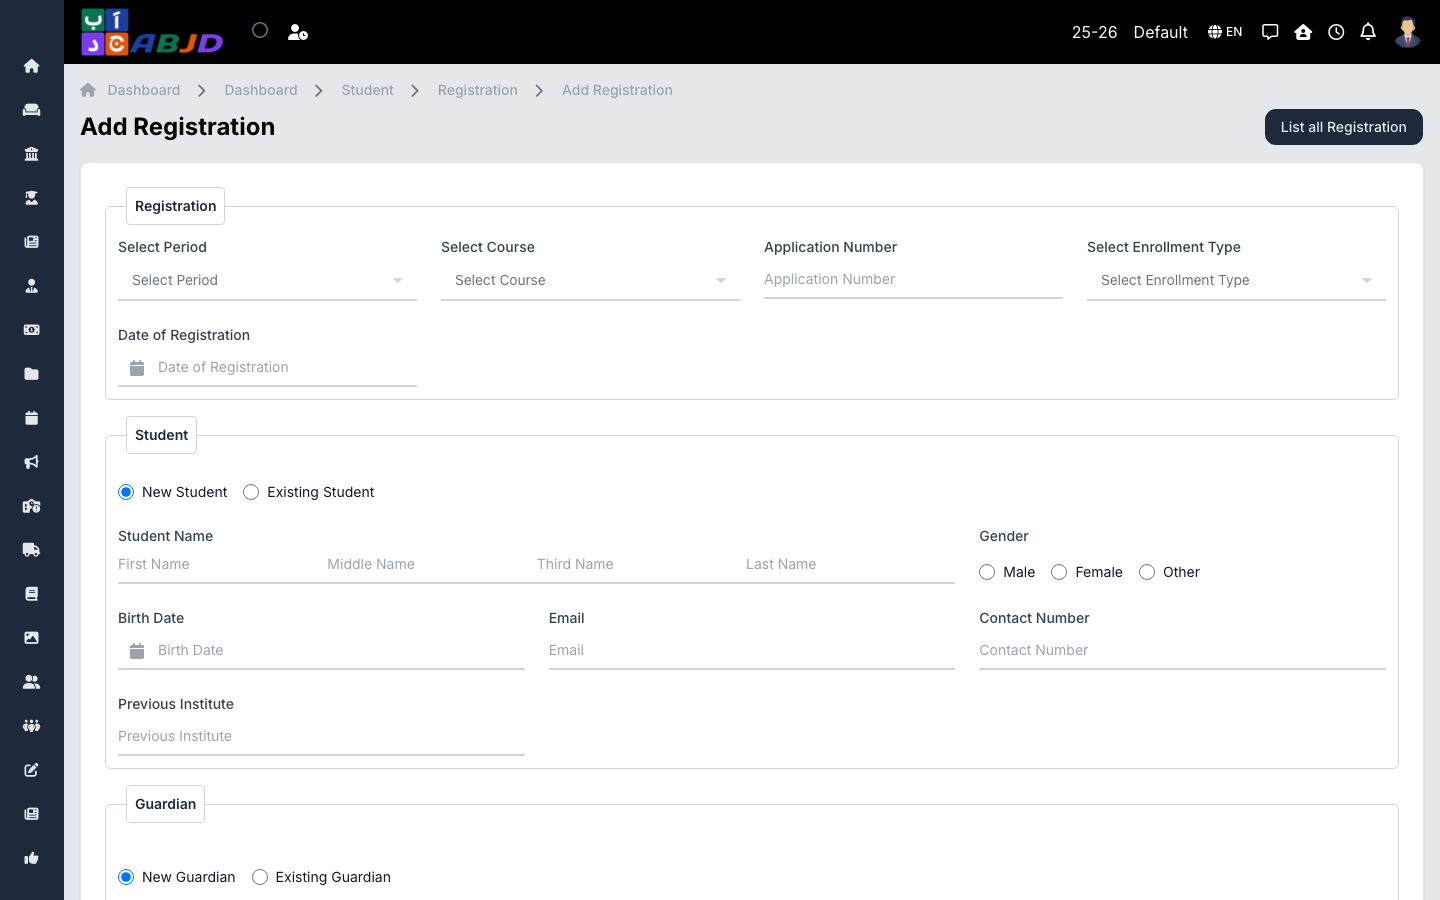
- Click Add Registration.
- Registration block — select the period and course applying for, set the date of registration, and optionally an application number and enrollment type.
- Student block — choose New Student and enter:
- Student name (first name required; middle/third/last as applicable)
- Gender and birth date (required)
- Email (required — this is the student’s primary contact identity)
- Contact number (optional — if the student has no phone, guardian numbers are used for SMS/WhatsApp communication)
- Previous institute (optional)
- Guardian block — choose New Guardian or Existing Guardian:
- For a new guardian enter the name, relation, and contact number.
- When you set the relation to Father, the guardian name is auto-filled from the student’s middle + last name — adjust it if needed.
- Use Add Guardian to attach more than one guardian.
- Click Save. The application appears in the list with status Pending.
If the student already exists in the school (for example re-registering for a new period), choose Existing Student instead and pick them from the search.
Approve or reject an application
- Open the registration from the list.
- Use Approve to convert it into an admission — this creates the student record, assigns the batch, and links the guardians. Use Reject to close the application with a remark.
- Approved students appear under Students.
Row actions
- View — application details, documents, and status history.
- Edit — correct application data while it is still pending.
- Delete — remove a pending application.